
What are the steps in the LED display installation process?
A reference process of 5 steps should be followed for managing an LED display project: site survey and design, structural construction, cabinet or module installation, control system configuration, and acceptance using a checklist. For investors, the goal of this process is not to interfere with detailed technical aspects, but to know which points require questions, observation, and contractor verification before signing off on the handover.
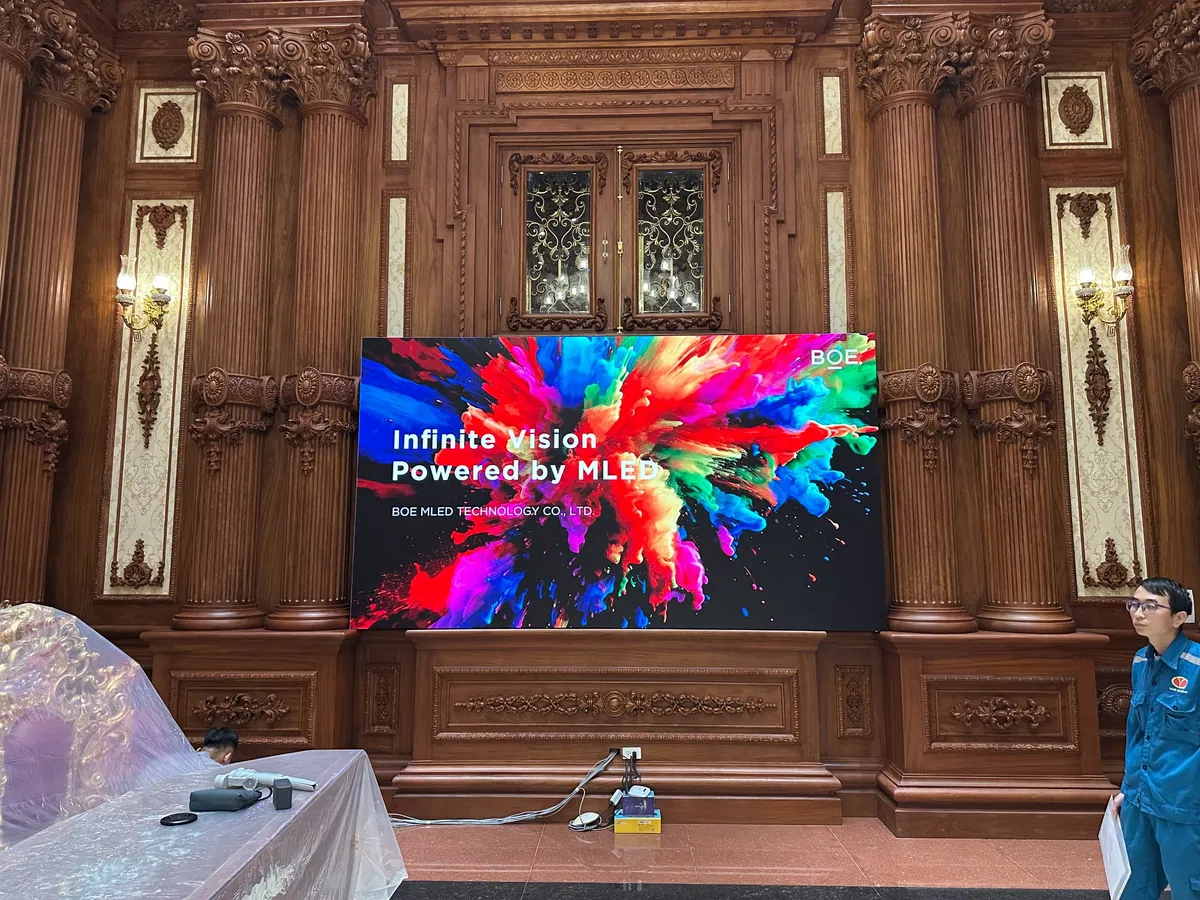
!Luxwave technical team installing COB LED screen at Thanh Thang Castle project
The first step is site survey and preliminary design. The technical team needs to measure viewing distances to select pixel pitch, check installation locations, assess structural load, determine maintenance access, calculate electrical power consumption, and plan cable routes. For outdoor screens, the enclosure's protection rating according to IEC 60529 and weather conditions must be considered alongside the structure. The article IP rating LED outdoor IP65, IP66, IP67 provides a good background for investors to read before approving outdoor screens.
The second step is the installation of the frame, support structure, and load-bearing anchor points. This is a less glamorous but crucial part that determines whether the screen is flat, stable, and maintainable. The third step involves installing cabinets or modules, power supplies, signal cables, and grounding. The fourth step is configuration using NovaLCT or equivalent software: mapping the screen layout, setting brightness, and sending parameters to receiver cards for uniform calibration. The fifth step is acceptance, which includes checking the image quality, electrical systems, structure, camera feed, and handover documentation.
At Luxwave, this process is typically applied to turnkey projects, from consultation and supply of genuine BOE, NovaStar, and Muxwave equipment to installation and handover. This integrated approach reduces blind spots between the screen vendor, the frame fabricator, and the control system configurator. Investors should still maintain an independent supervisory role using a checklist, as checklists transform technical commitments into verifiable items.

Why is the survey and design step indispensable?
The survey transforms a general requirement like "install an LED screen in a conference hall" into a feasible installation plan: actual dimensions, resolution, hanging load, power and signal routes, maintenance access, and environmental conditions. Skipping the survey can lead contractors to rely on generic catalogs or common experience, whereas each project differs in terms of walls, ceilings, power sources, viewing angles, and daily operational contexts.
!Diagram of the LED screen installation, configuration, and acceptance process
Regarding image quality, surveying viewing distances helps select the correct pixel pitch. A screen for a conference hall with close-up front rows requires a smaller pitch than a screen mounted high in a large lobby. A stadium screen needs to balance long viewing distances with high brightness and camera compatibility. Choosing pitch solely based on budget might lead to overpaying for resolution the eye cannot perceive, or excessive cost-saving that results in pixelated text and graphics for nearby viewers.
Regarding electrical systems, the survey must determine peak power consumption, not just average. In practice, the peak power draw of an LED screen can be about 2-3 times the average when displaying bright content. Therefore, power supplies, circuit breakers, wiring, and electrical panels must be selected based on peak power consumption with an appropriate safety margin. Choosing based on average consumption might result in stable operation during a dark logo demo but tripping breakers, overheating wires, or voltage drops when running white backgrounds, event videos, or bright advertisements.
Regarding the structure, the survey must assess the mounting surface, anchor points, static load, vibration, deflection, and operational access. An LED screen is not only heavy during installation; it must also withstand vibration, heat, maintenance operations, and sometimes environmental factors if installed outdoors. Investors should request drawings or descriptions of the frame solution, anchor point locations, and module access methods post-handover. These details should be clarified before signing the contract, not deferred until acceptance.

How should the structure, frame, and maintenance access be supervised?
The LED screen structure should be viewed as a small electromechanical and construction component, not just a frame for mounting equipment. The frame must be sufficiently strong, keep the screen surface flat, prevent twisting or sagging, and not obstruct maintenance access. For investors, practical supervision involves reviewing drawings, inspecting materials, checking flatness after installation, and requesting a demonstration of module or cabinet replacement.
Surface flatness is a critical criterion because LED screens are assembled from multiple cabinets or modules. Even a slight misalignment of a few cabinets can cause light to reflect differently at the seams, creating a wavy appearance despite correct content display. For premium COB screens like BOE BYH COB Ultra P0.9, the extremely high pixel density makes even minor mechanical deviations noticeable at close distances. Investors don't need complex equipment for every check, but they should view the screen from various angles, with different background colors, and request that any obvious bumps or dips be addressed.
Maintenance access is the most frequently overlooked aspect. There are two common maintenance directions: front and rear. Screens installed close to walls often require front access using module suction tools; screens with rear technical access can be maintained from behind. If the design doesn't provide access, a minor power supply failure could necessitate removing a large section of the screen, decorative panels, or erecting scaffolding. The article LED maintenance checklist should be used alongside the acceptance checklist to ensure the screen is not only visually appealing upon handover but also repairable within 6-12 months.
For outdoor screens, the structure must also account for water drainage, wind resistance, corrosion protection, and safe access. The IP standard according to IEC 60529 only describes the enclosure's protection level against dust and water; it does not replace checks for mechanical integrity, drainage, or vibration resistance. Therefore, when accepting an outdoor screen, investors need to inquire about both the cabinet's IP rating and the practical solutions for preventing water pooling, cable sagging, exposed connectors, and ensuring safe standing points for maintenance personnel.
What points need checking during cabinet installation, power, and signal wiring?
The cabinet or module installation phase is where the design becomes a real system, so errors here often cause cascading consequences: image loss in certain areas, incorrect image sequencing, abnormal cabinet overheating, or difficult repairs due to tangled wiring. Investors should clearly check three areas: cabinet installation order, power routing, and signal routing, then cross-reference with as-built drawings before sealing the rear or applying decorative finishes.
Signal cables must be routed in the correct cabinet sequence according to the control system's signal receiving map. Incorrect routing might still allow the screen to light up but result in scrambled image areas, mapping errors, or difficulty achieving stable configuration. For NovaStar systems, selecting the right controller, such as the NovaStar VX1000, and correctly configuring the receiver cards simplifies the screen mapping process. Investors don't need to operate NovaLCT themselves but should request the contractor to provide or save the final signal map for maintenance purposes.
Power routing requires balanced load distribution, clear labeling, and avoiding connecting too many cabinets to a single branch. Since peak power consumption can be 2-3 times the average, wiring must have adequate cross-section, circuit breakers must be correctly rated, and connectors must be securely tightened. An LED screen used for events might switch rapidly from dark to bright backgrounds, causing a sudden surge in current. If a power branch is weak, the symptoms could include dimming, power resets, hot connectors, or protective device tripping during the program.
Grounding is not a secondary detail. Metal cabinets, switching power supplies, and long signal cables all require a good grounding system to reduce the risk of electrical shock, interference, and equipment damage during incidents. Investors should request measurements or confirmation of grounding according to the project's applicable electrical codes, checking that the ground wires are continuously connected through the frame and cabinets, not just symbolically at one point. For screens in public areas, this is a mandatory safety item before operational handover.
How important are NovaLCT configuration and uniform calibration?
After the hardware is installed, software configuration determines whether the screen displays the correct resolution, sequence, and uniformity. For NovaStar systems, NovaLCT is typically used to map the screen layout, send receiver card configurations, set brightness, and assist with uniform calibration. This is a step investors might overlook because it happens on a computer, but its results are clearly visible across every color zone of the screen.
Screen mapping defines how cabinets receive signals. Incorrect mapping can result in fragmented images, reversed orientation, or loss of an entire area despite functional cables and cabinets. During acceptance, investors should request running full-screen test patterns including grids, small text, diagonals, and solid colors. These tests help detect incorrectly sequenced areas, mirrored cabinets, misaligned seams, or missing row/column data. The article Choosing an LED screen controller further explains the controller's role in overall system stability.
Brightness settings should also be based on the actual environment. Indoor screens in meeting rooms or auditoriums set too bright can cause glare, eye strain, and blown-out highlights on camera. Outdoor screens set too dim will be washed out by sunlight. Proper configuration usually involves appropriate brightness thresholds for different times of day or operating scenarios, rather than defaulting to full brightness at all times. This improves viewing experience, reduces power consumption, and lessens thermal stress on the modules.
Uniform calibration is what distinguishes a screen that's merely installed from one that's properly handed over. Cabinets from different batches, replacement modules, or minor manufacturing deviations can cause a slight green, red tint, or dimmer appearance in one area compared to another. After calibration, the screen should be checked with white, gray, red, green, blue backgrounds, and moving content. If noticeable color discrepancies are observed, investors should request recalibration or module replacement before signing off on acceptance.
What should an LED screen acceptance checklist include?
An acceptance checklist needs to be specific enough for both parties to verify, avoiding the situation where "the screen lights up" is considered completion. A good checklist should be divided into five groups: image, camera, electrical, structural, and handover documentation. Each group requires clear observation or measurement criteria, responsible personnel confirmation, and notes on defects to be rectified before final acceptance.
The image group includes checking for dead pixels, abnormal bright spots, color-mismatched or batch-different modules, visible seam lines, and uniform brightness after calibration. Tests should be performed on black, white, gray, and basic color backgrounds. Single dead pixels might be hard to spot in multi-colored video but are immediately apparent on solid white or colored backgrounds. Modules from different batches often create slight color shifts, particularly noticeable on gray backgrounds and in corporate presentations.
The camera group is crucial for stages, auditoriums, studios, control centers, and stadiums. The screen must appear clean on camera, without flicker, scan lines, or noticeable banding at commonly used recording speeds. This relates to refresh rate, controller configuration, brightness, and camera settings. During acceptance, testing should be done with the actual equipment used by the operating unit, not just visual inspection.
The electrical group includes grounding, correctly rated circuit breakers, adequate wire gauge, secure connectors, reasonable power branch distribution, and stable heat dissipation. The screen should be tested with high-brightness content for a sufficient duration to observe temperature and power stability. The structural group includes stability, flatness, seam gaps, anchor points, and front or rear maintenance access. The documentation group includes power diagrams, signal diagrams, control system configuration, operating manuals, acceptance reports, and a list of key equipment.
What common mistakes lead to cost overruns in LED projects?
The biggest mistake is skipping the structural load and electrical capacity survey, as these errors affect the project's foundation. If the frame is not strong enough or the power supply is insufficient, repair costs can escalate from replacing a module to reinforcing the structure, re-wiring, changing electrical panels, or delaying the launch. Investors should insist on load and power calculations before signing, especially for large screens, high-mounted screens, or screens used for events with large crowds.
The second mistake is routing signal cables in the wrong cabinet sequence. This seemingly minor technical error causes configuration delays, complicates the screen map, and makes troubleshooting difficult for the maintenance team later. Prevention involves requesting a clear signal diagram before installation, labeling cables, numbering cabinets, and saving the final configuration file. For NovaStar systems, this information should be included in the handover documentation, not just stored on the technician's laptop.
The third mistake is the lack of maintenance access. Many projects prioritize a seamless exterior, completely concealing the rear of the screen, but fail to plan for replacing power supplies, receiver cards, or removing modules in case of failure. Post-handover, a minor fault could require removing interior finishes, setting up high ladders, or shutting down operations for longer than necessary. This is why Luxwave often raises maintenance questions early in the design phase, particularly for screens in conference halls, showrooms, control centers, and high-end projects.
The fourth mistake is rushing acceptance with pre-prepared, visually appealing content. Demo content is often optimized for color and brightness, masking minor dead pixels, slight color shifts, or camera banding. Investors should request test patterns, their own content, and camera tests. For projects using BOE COB screens or NovaStar control systems, referring to cases like Luxwave's handover of 2 BOE COB P0.9 projects in Q1/2026 can provide insight into testing high-resolution screens in real-world scenarios.
How should investors receive handover for safe operation?
Proper handover means the investor can operate, inspect, and call for maintenance based on clear documentation, without relying on the installation team's memory. Before signing the final acceptance, conduct trial runs based on real scenarios, check the checklist by group, record or save key parameters, and receive all as-built documentation. This is a crucial layer of protection for both safety and lifecycle costs.
For screens used in events, test high-brightness situations, rapid scene changes, small text content, and camera feeds. For fixed screens in auditoriums, test from the front, middle, and rear seating rows, as well as the control desk. For outdoor screens, additionally check drainage, waterproofing, electrical cabinets, surge protection (if designed), and safe maintenance access. Any deficiencies should be documented as a list of required rectifications with deadlines, not resolved with verbal promises.
Luxwave can handle turnkey projects from survey, configuration design, supply of genuine BOE, NovaStar, Muxwave equipment, to installation, configuration, and acceptance. However, the best approach remains for the investor to have their own checklist and understand the technical logic sufficiently to ask the right questions. A well-handed-over LED project is not only visually stunning on day one but also safe, easy to maintain, and maintains stable display quality throughout its operational life.
When preparing tender documents or acceptance protocols, clearly separate three sections: image requirements, electrical-structural requirements, and maintenance requirements. The image section answers what the viewer sees; the electrical-structural section answers system safety; and maintenance answers how repairs will be handled later. Having these three sections well-defined will significantly enhance the transparency of contractor selection, price comparison, and handover signing.
Pitfalls
Common mistakes
- Skipping structural load and electrical capacity surveys, leading to undersized mounting frames, power supplies, or circuit breakers from the start
- Routing signal cables in the wrong cabinet sequence, causing incorrect screen mapping, image area loss, or difficulty troubleshooting during operation
- Designing for a seamless aesthetic but neglecting to provide front or rear maintenance access, turning module and power supply replacement into major disassembly tasks
- Selecting wires, power supplies, and circuit breakers based on average power consumption instead of peak power, creating risks of voltage drops, overheating wires, or breaker trips when the screen displays bright content
FAQ
Frequently asked questions
What needs to be checked during LED screen acceptance before signing off?
Investors should check at least five groups: image quality (no dead pixels, no color-mismatched modules, uniform brightness and color after calibration), camera feed (no flicker or scan lines), electrical safety (grounding and correctly rated circuit breakers), structural integrity (flat screen surface, sturdy frame), and maintenance access (functional front or rear access).
Why is a lit-up LED screen not sufficient for acceptance?
A lit screen only proves basic power and signal functionality. Proper acceptance verifies stable display under real operating conditions: varying content brightness, flicker-free camera recording, uniform module color, stable heat dissipation, and electrical systems capable of handling peak loads. These issues often only emerge during checklist-based inspections.
How does the peak power consumption of an LED screen differ from its average?
Average power consumption is the typical usage during mixed content display. Peak power occurs when many pixels are brightly lit simultaneously and is usually 2-3 times the average. Therefore, power supplies, circuit breakers, and wiring must be selected based on peak power to prevent overheating, voltage drops, or breaker trips during bright content playback.
What is NovaLCT used for in LED screen installation?
NovaLCT is configuration software for NovaStar control systems, used for mapping cabinet layouts, sending receiver card parameters, setting brightness, and assisting with uniform calibration. For projects with many cabinets, correct configuration ensures proper image alignment across all areas, prevents cabinet sequence errors, and provides a stable basis for image acceptance.
Do indoor LED screens require grounding checks like outdoor screens?
Yes. Although indoor screens are not exposed to rain and sun like outdoor ones, they still use high-power supplies, metal cabinets, and extensive cabling. Grounding reduces risks of electrical shock, signal interference, and equipment damage during incidents. Outdoor screens require additional checks for waterproofing, drainage, and appropriate IP ratings for the environment.
What documentation should investors retain after acceptance?
It is advisable to keep structural drawings, power diagrams, signal diagrams, control configurations, cabinet or module lists, acceptance reports, and maintenance manuals. This documentation facilitates faster troubleshooting, especially when replacing modules in specific locations, checking electrical loads, or expanding the system later.
References